The garden of this house is what first attracted me to it. The yard was large, private, mature, and a little neglected. It had what people like about old, run-down houses: good bones. I knew I could do a lot with the space. But first it was going to require some clean-out, some trimming, some pruning, some removal of dying shrubbery and overgrown clumps of mess. I also like to start the compost bin as soon as possible, so that in a year or so when I need it, it will be ready.
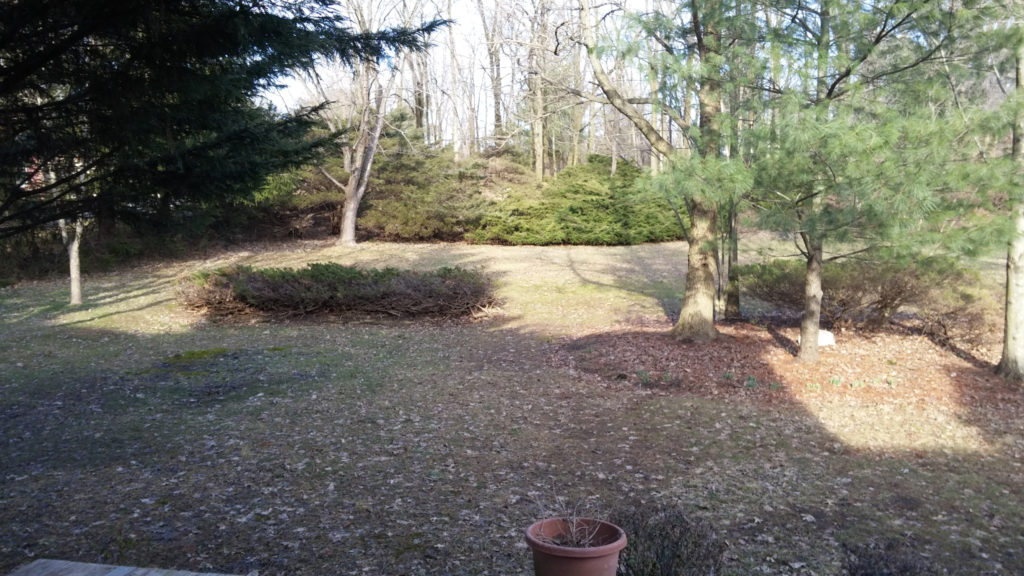
I started the clean-up as soon as I moved in, even before I conceived of this website and blog. That means that some of the photos I post here about the prep and clean-up will be chronologically out-of-order. I don’t think this is a big deal, but I did want to acknowledge it. For example, the BEFORE PICTURE of the garden was taken AFTER I did a lot of the clean-up, tree trimming, and other pruning.
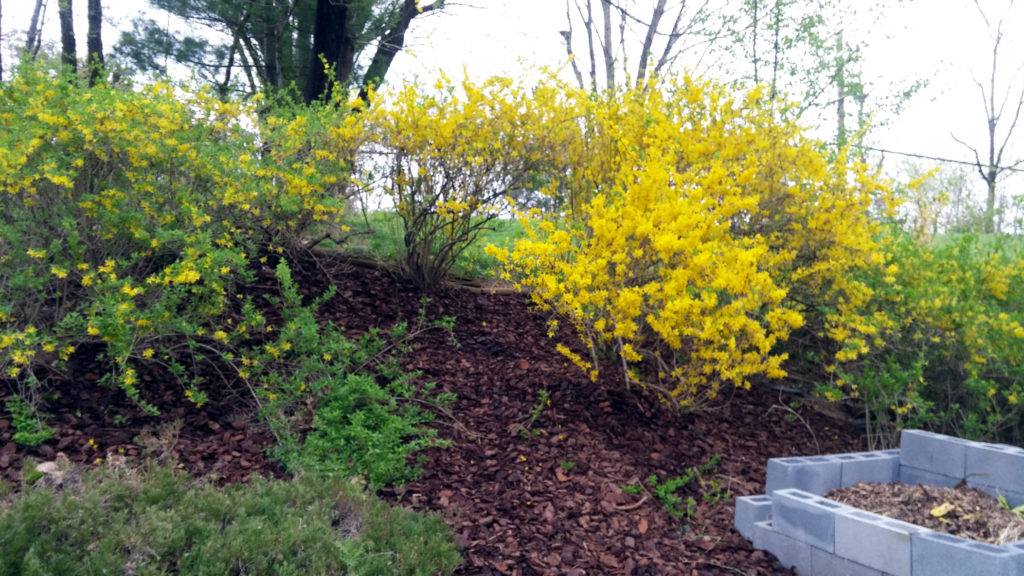
But there was still plenty to do this spring. Part of getting a new garden is finding out what, exactly, was already growing. I was pleasantly surprised to find that the old crusty bushes in the back were forsythia, an early blooming bush with yellow flowers.

I decided to keep the forsythia. Early bloomers are good for bees. I trimmed the old growth and mulched. Here is the result:
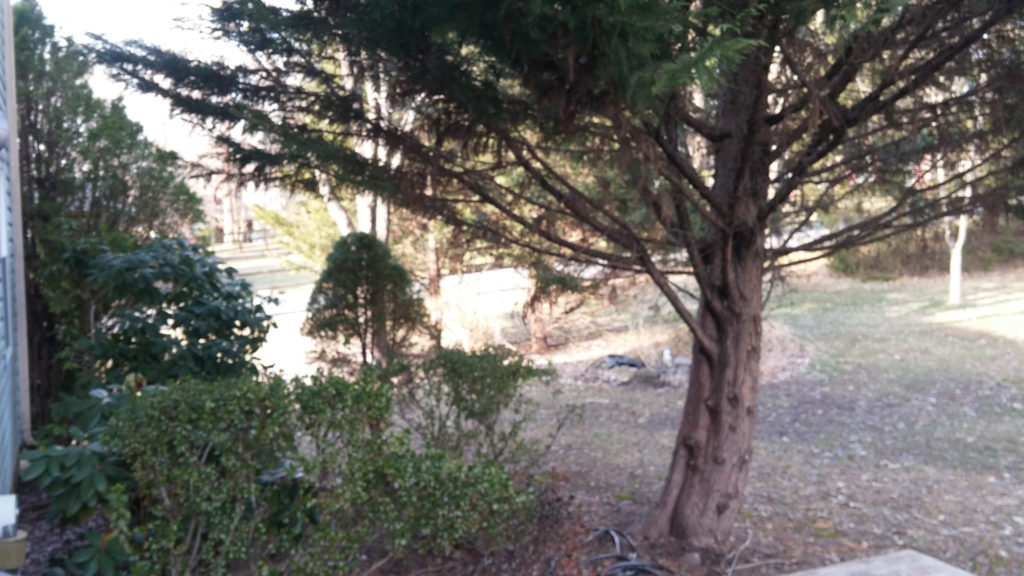
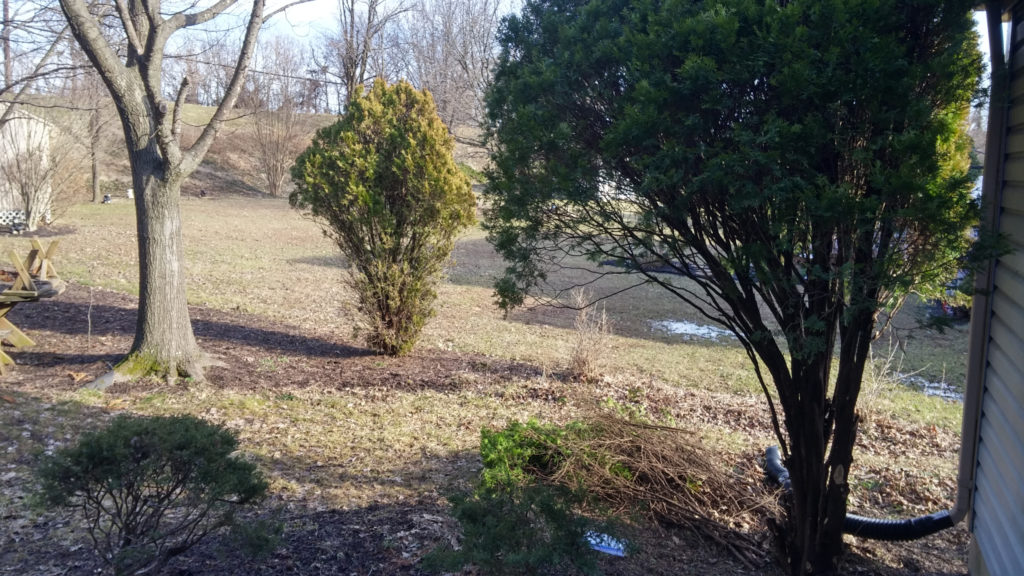
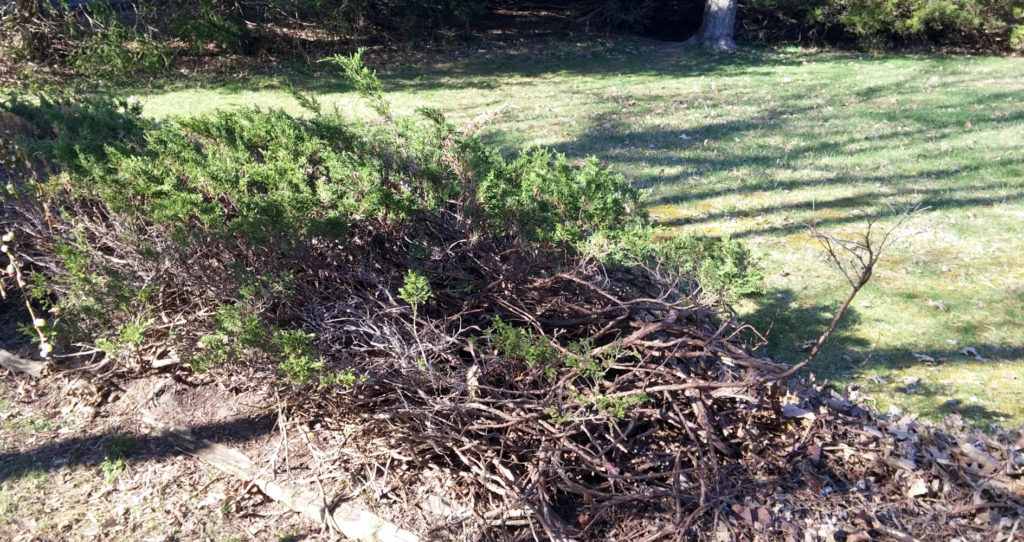
Not every set of bushes was so fortunate, however. The row of mostly dead red cedars in the middle of the grassy yard had to go. Red cedar can be a beautiful evergreen, but these ones were a tangled mess.
Here is the result, plus a bonus: a weeping pussy willow.
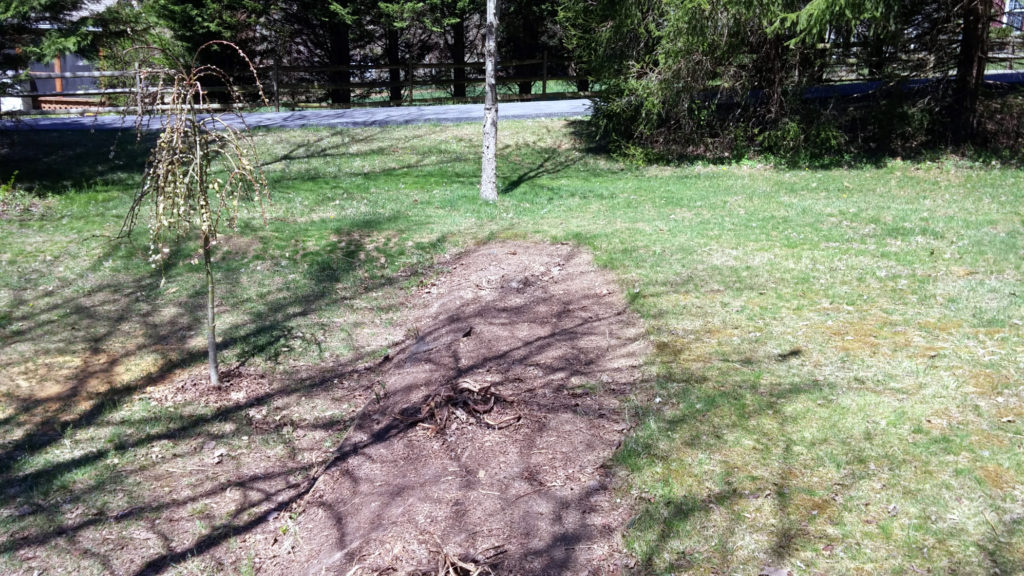
I love weeping willows. As a child I dreamed of having a weeping willow fort to play in. Now my children will be able to realize that dream. I’m not kidding myself, though. I know for whom I planted this tree, and I know who is going to spend the most time playing under it. Me.
My kids are welcome to join me if they wish.
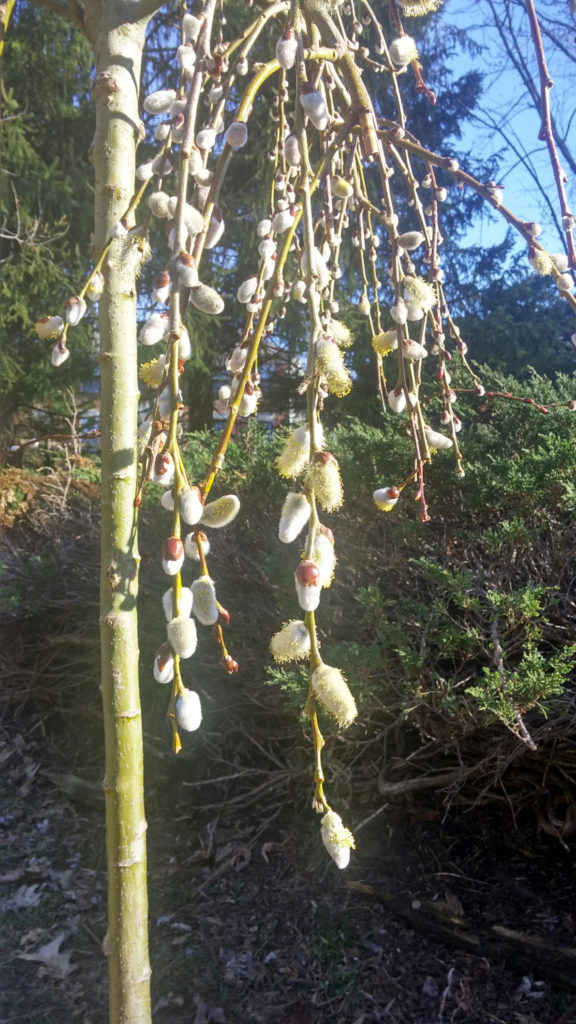
A weeping pussy willow is not a natural tree. It’s a graft. Weeping willow roots are topped with a pussy willow bush, and the two are grafted, or grown, together. The roots determine the structure, and the bush determines the look of the foliage. Horticulture is so cool.
As I mentioned in a previous post, I am going for a natural garden with primarily local or native species. There will be a few exceptions, and this weeping pussy willow is one of them. It was not part of my original plan, but I found this beautiful specimen on sale at the garden store when I was picking up compost bin construction materials and mulch, and I just had to have it. I did have to alter my overall plan to accommodate this tree (willows are fast growing and can grow to 50 feet in height), but my plan is flexible. This garden is for me, and if I want to follow a whim I may.
In addition to the prep and clean-up, another labor-intensive phase 1 step is building the COMPOST BIN.
Composting is a great way to enrich soil without having to buy a lot of fertilizers and so forth. You use plant-based food scraps and other garden discards like leaf litter, mash them together, turn the mess occasionally, and let the worms do their thing. In a few months to a year, the organic mess will become beautifully enriched garden soil.
There are many commercially available compost bins. None of the ones in my price range were big or robust enough. My backyard garden backs to the woods, and I have a lot of creatures who visit my garden: deer (of course), squirrels, rabbits, a groundhog, at least one gray fox, and tons of birds. These I have seen with my own eyes. My neighbor told me that he has seen a raccoon snooping about as well. The birds and squirrels aren’t the issue. The rabbits, deer, groundhog, and raccoon (especially the raccoon), are a different story. I need a compost bin that is sturdy enough to stand up to a raccoon.
Cinder blocks are my construction material of choice. They are beefy and cheap and allow moisture and air (necessary compost ingredients) to enter. They are also ugly, but I’ll deal with the unsightliness later. I chose a rectangular plot of land close to where my productive garden will go, and I got to work leveling it. It took a lot of digging because it’s situated on an incline. Why did I choose a spot on an incline? I can’t remember. Oh, right, so that I could utilize all the surrounding flat area for the actual garden beds. Sigh. After all the digging, it was time to start stacking. Cinder blocks are heavy!

I chose a design with two sections. I like having at least two sections because one is the side I add to, and the other is the side I take from. That way, once composting is well established, I always have some ready to go and some cooking in the wings. I also like having my bin open to the ground so the worms can come on their own. The rotating barrel style bins require special additives to get the break-down started, and that’s too annoying for me to deal with. I also have plenty of space to build a structure. For those short on space or permission (renters) the barrel type could be ideal.
I haven’t finished building my compost structure yet. When I do I’ll post a picture. Partially finished, it’s working okay for now. I cover it at night with a chicken wire frame, which keeps any curious critters from contaminating the compost.
Two trees were also removed (yay, chainsaw work!), and two more need to come down. Although I worked as an arborist many years ago, I lack the safety equipment to take these two bigger trees down on my own, so I may need to contract a professional. I’m still assessing that.
And with that, Phase 1 is pretty much complete. While there will be more prep work to do as time goes on, that’s it for the big stuff.